Insulated Panel Storage Area
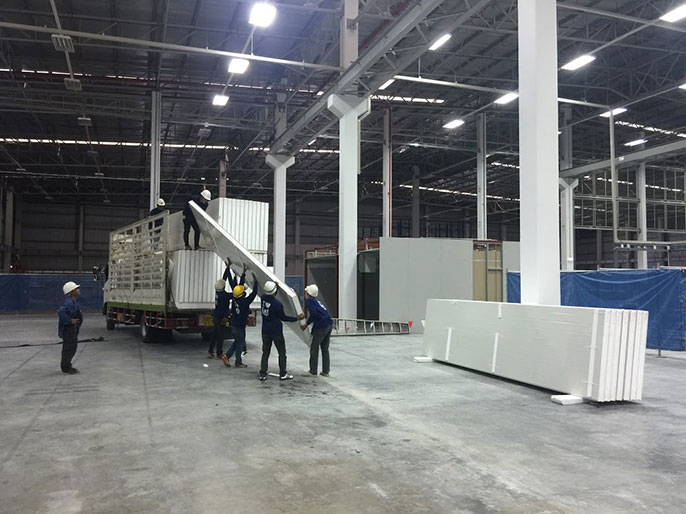
- Insulated Panels must be stored under the shade. If storing the insulated panels in the installation area, roof must be finished.
- Truck can get access to the storage area.
- The storage area cannot be flooded or have a puddle.
- Storage area must be close to the installation area. Big panels are difficult to handle. If not being handled by professionals, it can be damaged.
- The insulated panels must be stored away from ignition sources and materials.
- The warning sign should be mounted. Workers in that area must not smoke or ignite fire in that area. Do not sit/lie on or walk on the insulated panel.
- Don’t move insulated panels back and forth. It can cause damage. Make sure they are not block the way and keep it clear from the installation area.
Remark: Storage area can be the installation area.

Insulated Panel Installation Area
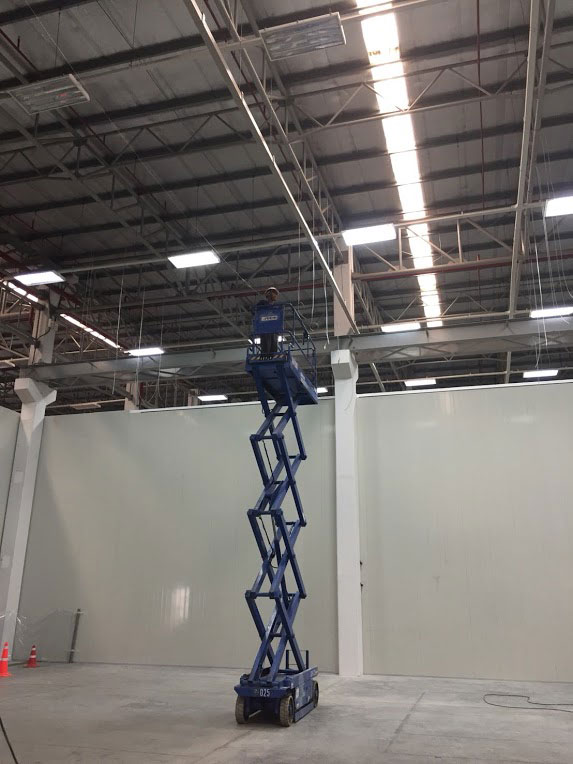
- Roof must be completely finished. No welding and painting in that area. It can cause any accident.
- Floor must be dry, no puddle, cannot be flooded in that area.
- Floor must be clean, no litters.
- Floor must be smooth/no bumpy, no debris. If the installation area is not smooth, clean and clear, the placement of aluminium and foam board on the floor will not be neatly attached to the concrete floor. It will cause the installation defect.
- Check if all columns, beams, existing walls and main structures in the installation area are complete and compiled with the design in terms of dimension, levelling, sizing, etc. Any error, can cause the installation defect.
- Check if the truss supports the ceiling with the correct span, keep everything clear from the suspension, allowing the handle to carry the load to its fullest.
- Check its dimension, floor level of the cold storage area and concrete curb, making sure it being compiled with the design.

Installation Process
- Measure the dimension of the room and mark the line for wall or ceiling panels.
- For cold storage room, coat the weather coat and place the plastic sheets (about 10 cm width) on the floor in the area where the wall line being marked. And at the joints of plastic sheets, seal with sealant (Butyl Mastic).
- Cut aluminium flashings to length (see Installation Details or Drawings for appropriate use of each section), then fix to floor or wall by fixing screws or plug at every 40 cm depending on the size of the screw (IXL uses screws or plug sized 1/4). For the cornering point in the cold storage room, cut the aluminium to 45 degrees and seal it with the sealant.
- Calculate and estimate the number of insulated panel being installed. The size of starter and end of wall/ceiling panels must be at least 40 cm width to maintain the strength of panel structure.
- Cut and trim each insulated panel to the size and shape required. For the cornering point, cut the panel to 45 degree.
- For the cold storage room, apply butyl mastic sealant (non-hardening type) along the inner edge of female joint for Cold room panels (only on the warmer side)
6.1 Sealant is used as vapour barrier, not adhesive or insulation.
6.2 To avoid leakage and condensation, do not apply too much sealant, especially on the insulated core, then create gap between the panels.
6.3 Sealant is not adhesive but non-hardening type of sealant helps seal panels slightly. - Carefully handle and erect each panel by insert the male joint into the female joint. Make sure the insulated core is contacted. Initially Fix with rivet or fixing screw at the end of the length of the panels. Using small piece of aluminium flashing to hold and help adjust the line if necessary. Then use aluminium flashing to cover all the joints and fix with rivet or fixing screw. Unfinished wall or ceiling can be damaged from unexpected weather (wind, storm, or etc.). Make sure to hold and fix the panels securely with the main structure or temporary support.
- Normally, the wall panel installation is in U shape, followed by ceiling installation so that the wall panels can strongly hold together. We then can adjust panel joints, lines and levelling at the beginning of erection before fixing.
- Before installing ceiling, make sure the ceiling is in the same level.
- Fix the panels and cover the edge with aluminium flashing.
- For the cold storage room, at the joints, leave 1-2 cm between ceiling and wall, pour in polyurethane foam where there is gap before covering with flashing. Be careful, the foam can be expanded over and leaked out. Clean the surface immediately. Dry PU cannot be removed!
Remark: For a processing room with warmer temperature (0 degree+) and use thicker than 4 inches panels, do not need to seal with sealant.
Floor Insulation Installation
Cold rooms shall be provided with higher compressive strength insulation to the floor surface. Products such as EPS with density of 24-32 kg/m3, XPS or Styrofoam SP, and PUR with density of 35-40 kg/m3 are available upon requested.
The composition shall comprise a vapour barrier of Polymer Bitumen Emulsion topped by 0.32 mm plastic sheet, lapped and sealed with butyl mastic (sealant) to all joints on a base of concrete or other approved surface. Insulated core shall be laid over vapour barrier to thickness in accordance with the operating temperature requirements. This shall be sealed or surfaced by others to comply with requirement.
Cleaning and Finishing Work
- After panel election, clean all panel surface and aluminium flashing with damp soapy rag or damp turpentine rag. Then finish with clean rag. Do not use sanding paper or scotch bright. Thinner can be used with care in some very dirty area only (Paint surface can be accidentally removed when using thinner.)
- Apply Silicone Sealant along every joint on panels and aluminium flashing. Make sure the joint area is clean and dry before apply silicone sealant. Dirty and wet surface affect the curing and adhesion of silicone sealant. Silicone Sealant can be sealed while installing or after complete installing. Need to consider if there will be dust during installation e.g. knowing that floor will be scrubbed, then we will not seal the sealant as yet


